By Ben Nitkin on
Recently, I made a combination lock out of wood. I'll be describing it in a series of articles because to save you, dear reader, from a numbing fifteen hundred word epic.
So, what in the world would posses me to make a combination lock out of wood? Well, some time ago, I saw a working model of a combination lock on woodgears.ca, looked it over, thought it was cool, and stashed the idea in the back of my mind with fulgurates and sous vide.
Months later, I was looking for winter break projects, and I thought of this lock. Helen & I decided to build a pair of them, scaled down from the version that Matthias built on woodgears. Why?
- Tiny gizmos are cute.
- It'd use less plywood and be easier to transport.
- I couldn't drill a round disk larger than 2".
- Mostly 1.
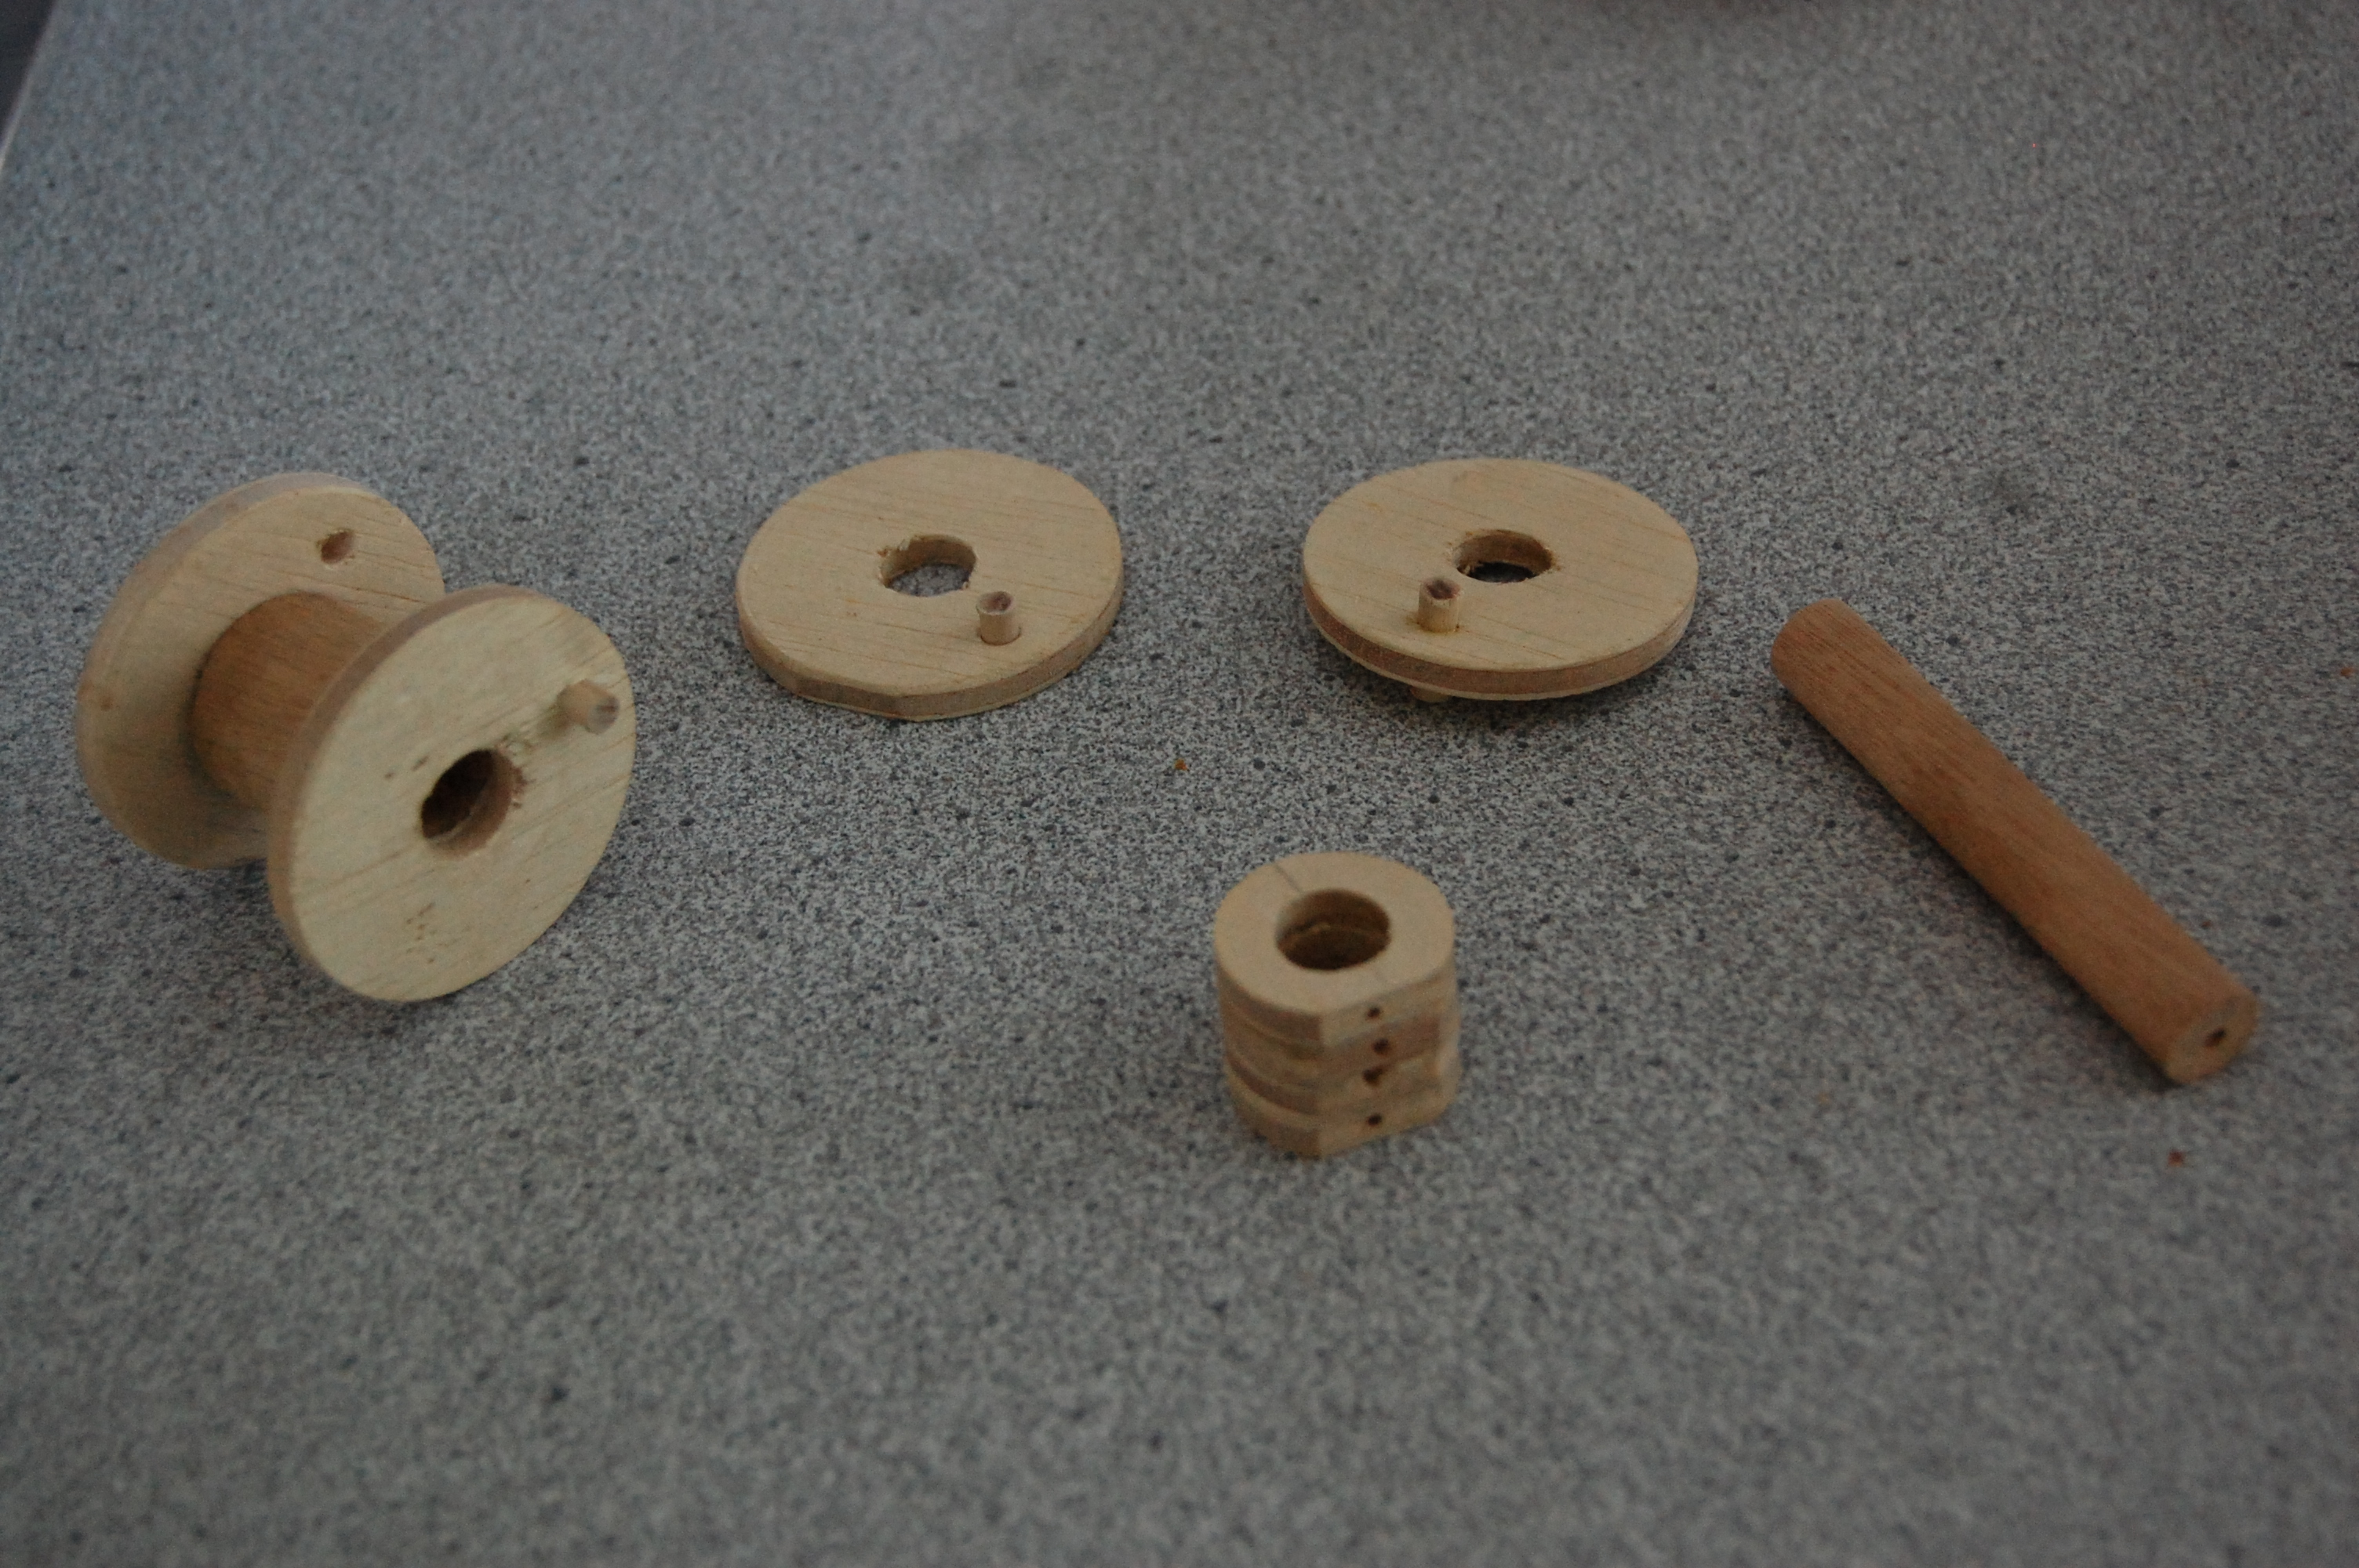
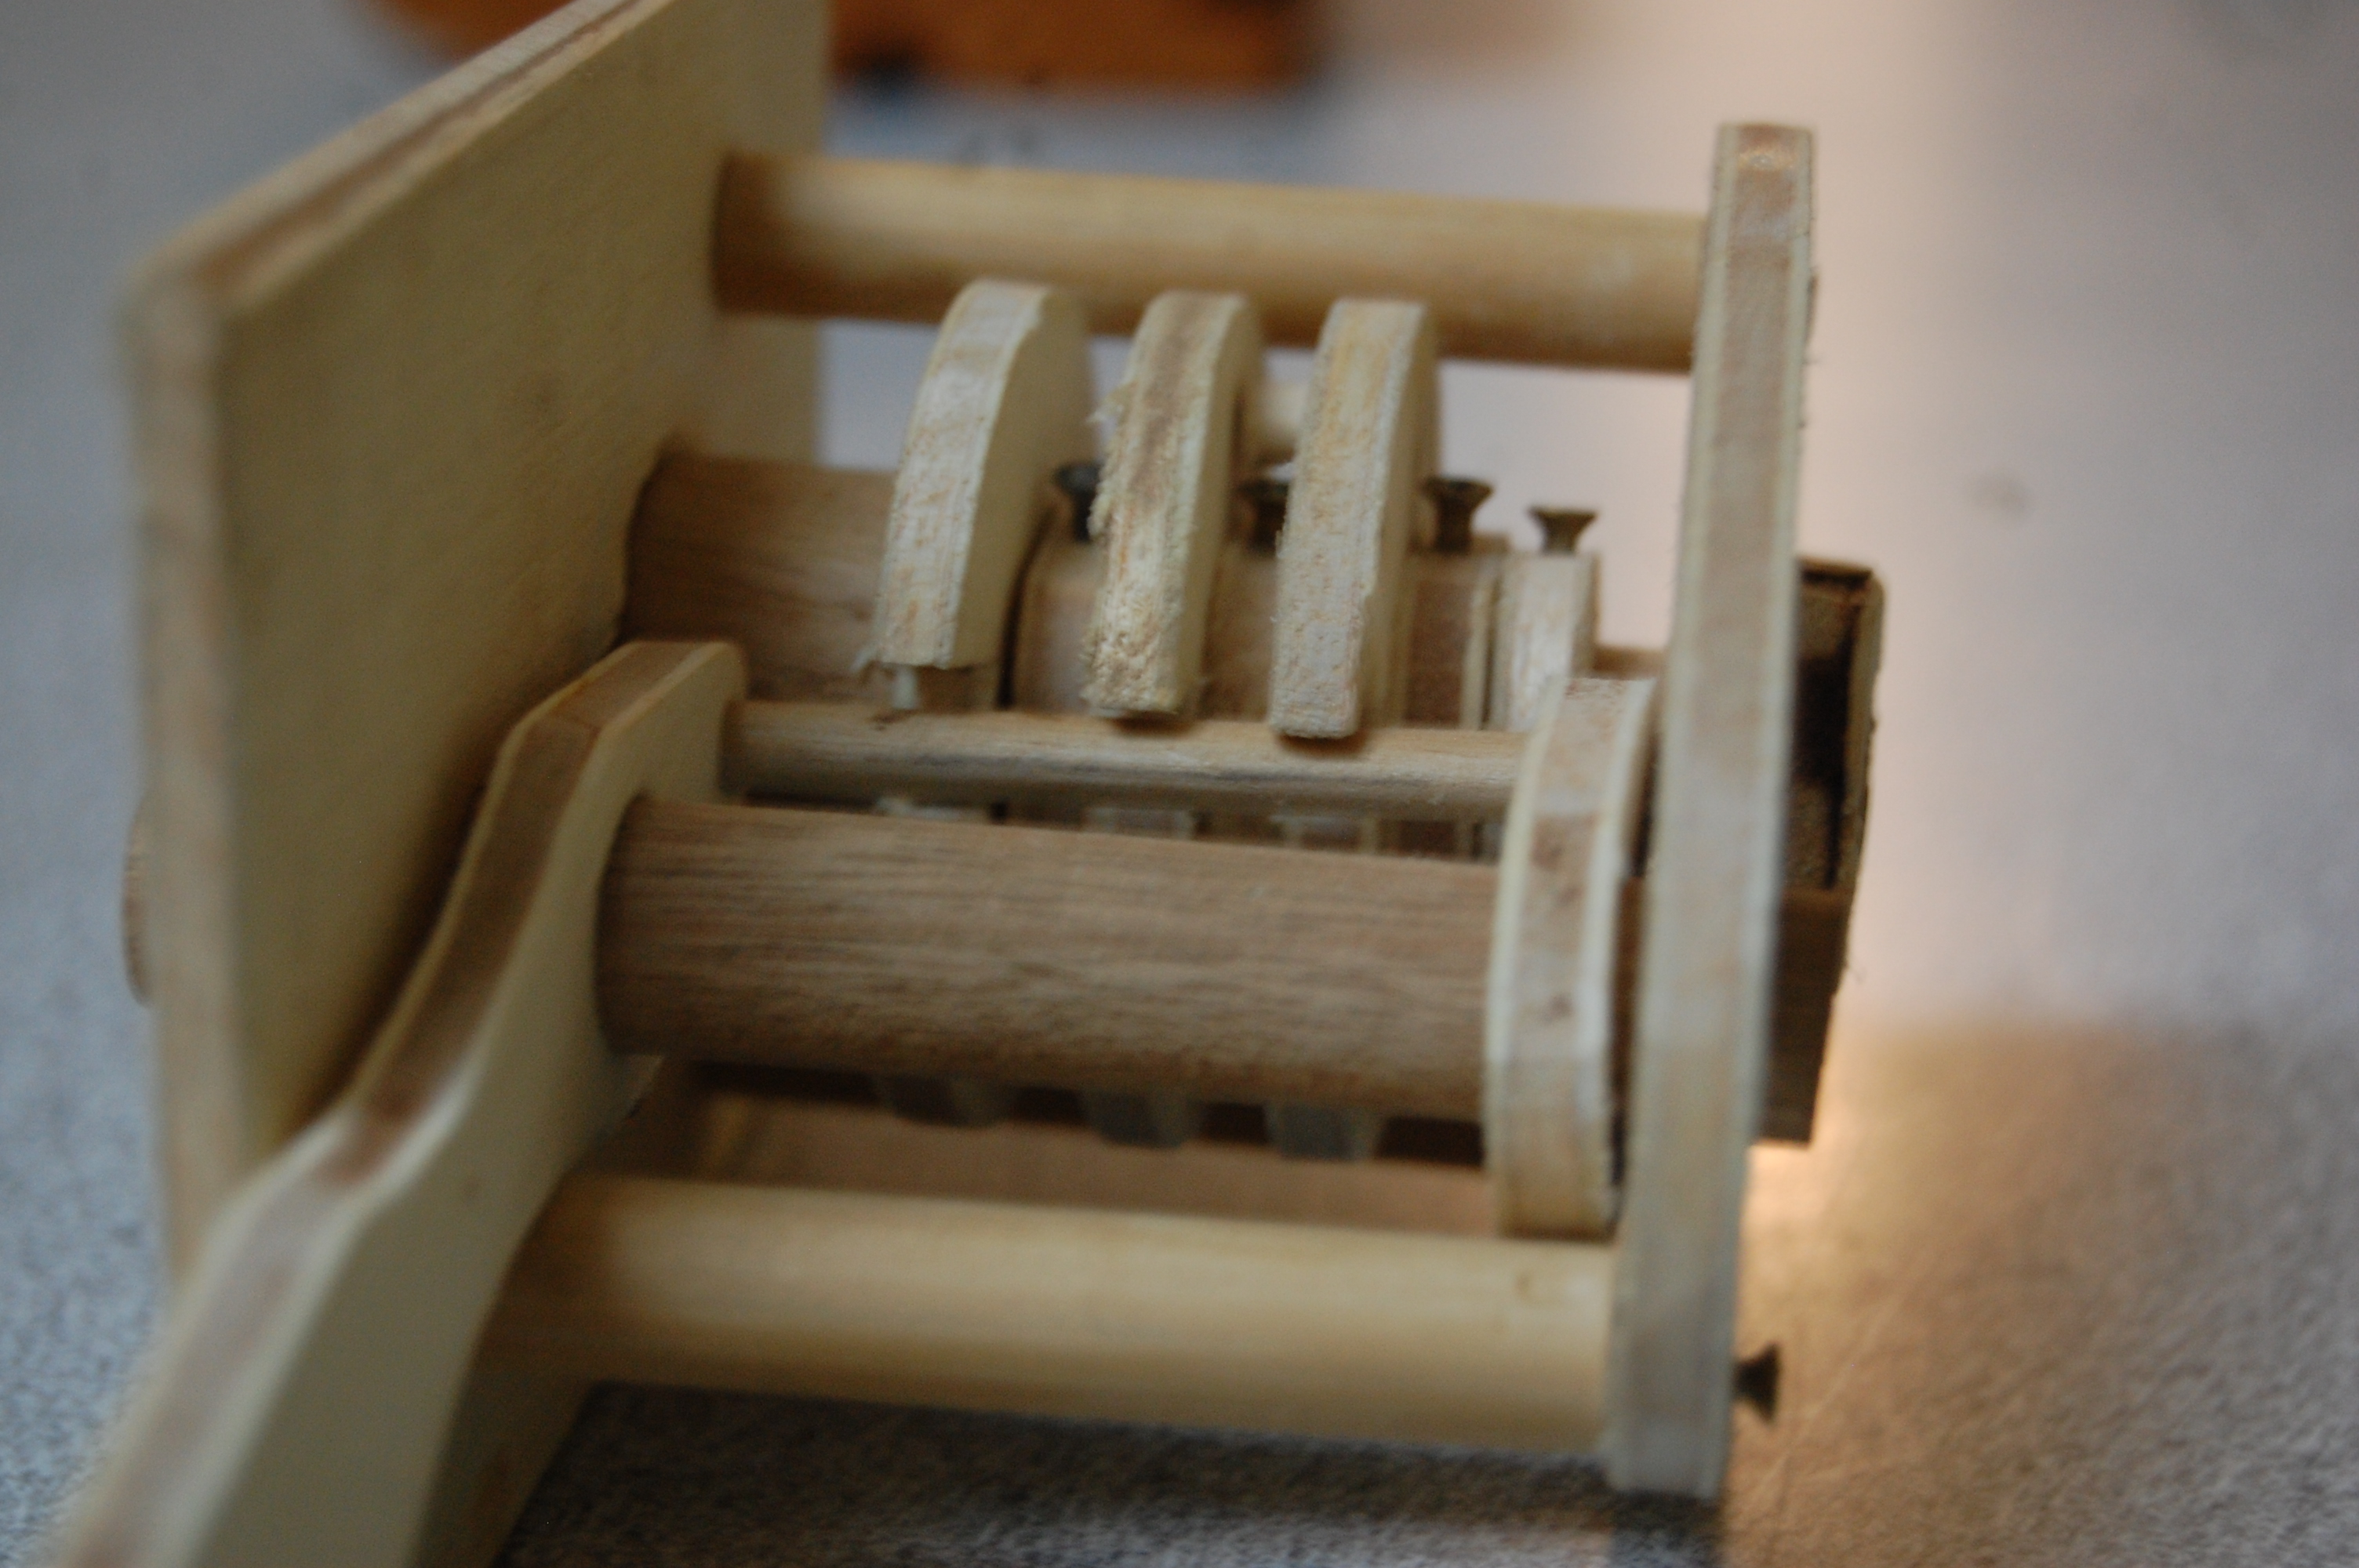
Fundamentally, a combination lock consists of rotors placed on a central dowel. The front rotor is fixed to the lock's face, and each of the rotors have a small tab that will move the next rotor. Each rotor also has a notch; when the notches of all three rotors align, the lock opens.
With that knowledge, you can reconstruct the unlocking process. Rotating the faceplate clockwise one rotation guarantees that the tab on the first rotor is engaged with the tab on the second rotor; that the first two rotors are moving as one. Another turn picks up the third rotor. Dialing in the first number of the combination sets the third rotor to a certain position.
Moving the dial one turn counterclockwise moves the tab of the first rotor to the opposite side of the second rotor's tab. Once more, the first two rotors are turning in unison, but counterclockwise. Once more, dialing in the second number aligns the slot in the second rotor to the latching mechanism.
And turning clockwise to the final number moves the front rotor's slot into alignment with the latch.
So, that funny sequence of clockwise and counterclockwise turns, and that funny business about turning past zero offers control over each of the rotors in turn, back to front, setting each rotor to the right position.
Next up: design!